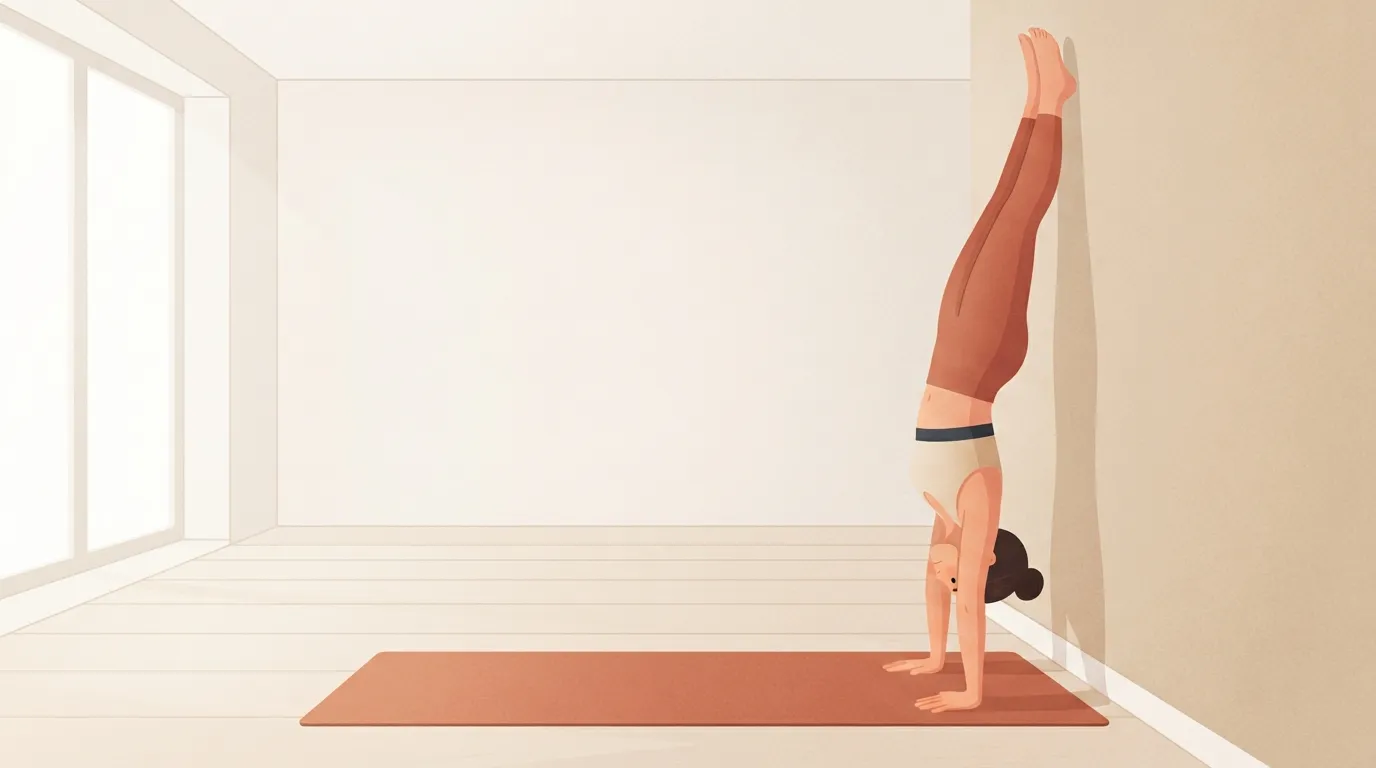
You've probably tried it already. One big kick on the lawn, a wobble, a thud onto your back, and the quiet conclusion that handstands belong to gymnasts and nine-year-olds.
It stings a little because it looks so simple. Kids do them for fun. But kids also spend hours upside down without calling it practice, while most adults try twice a year and then judge themselves on the result.
A handstand isn't a test of talent. It's a skill with a known order of steps, and most failed attempts come from skipping the middle ones. Whether you want a calisthenics handstand or just one for the beach, the method is the same: learn the steps in order, practice them in short doses most days, and the balance shows up.
What Holds a Handstand Up
You balance on your hands the same way you balance on your feet: through constant small corrections at the base. Two biomechanics studies from the University of Bath show exactly where those corrections come from.
Kerwin and Trewartha (2001), in Medicine & Science in Sports & Exercise, filmed handstand balances on a force plate and calculated the torque at the wrists, shoulders and hips. In the better balances, the wrists and shoulders did most of the correcting and the hips did very little. In the less successful balances, the hips played a growing part. Bending at the hips is what a falling handstand looks like.
Yeadon and Trewartha (2003), in Motor Control, tested that idea on four male gymnasts. All four used a wrist strategy, adjusting finger and wrist pressure about 160 to 240 milliseconds after their body drifted. Their shoulders and hips mostly worked to keep the body locked in one fixed shape, which explained 86 percent of the variation in both shoulder and hip torque.
A third study shows what practice changes. Kochanowicz and colleagues (2019), in the Journal of Strength and Conditioning Research, recorded 13 muscles in 10 adult and 15 young gymnasts. On the floor, the wrist flexors worked at about 61 percent of their maximum just to hold the position. The more experienced adults held the same handstand with 19.1 percent less triceps activity and 17.6 percent less front-shoulder activity than the younger gymnasts. Skill made the handstand cheaper to hold.
Three rules fall out of that research:
- Your hands steer. Press through the fingertips when you start to tip over, and into the heel of the hand when you start to fall back toward your feet.
- Your body stays one piece. Ribs down, glutes tight, legs together. Folding at the hips to save a balance is the fallback that fails.
- Strength is the entry fee, not the skill. You need enough to hold straight arms overhead. Practice makes the hold easier from there.
How to Do a Handstand for Beginners: The Progression at a Glance
Six steps, in this order. Each one has a simple test that tells you when to move on. Most adults stay longest on step 3, and most stalled attempts come from jumping straight to step 6.
| Step | What you practice | Move on when |
|---|---|---|
| 1. Wrist prep | Wrist rocks, palm lifts, fingertip presses | Your wrists stay pain-free under full plank weight |
| 2. The floor line | Hollow hold, plank, shoulder push | You hold a 30-second hollow hold with your lower back down |
| 3. Wall holds | Wall walk, chest-to-wall hold | You hold 30 to 45 seconds chest to wall with straight arms |
| 4. Kick-up | Back-to-wall kick-ups | You reach the wall softly on 8 of 10 kicks |
| 5. Bail | Cartwheel exit from low kicks | You turn out to either side without thinking |
| 6. Freestanding | Toe pulls off the wall, kicks to balance | You hold 5 to 10 seconds, then build from there |
Step 1: Prepare Your Wrists
Your wrists are the joint that complains first. In a handstand they carry your whole body weight bent back close to 90 degrees, a load they rarely see in daily life.
Gymnastics shows where that load lands over time. DiFiori and colleagues (2002), in the Clinical Journal of Sport Medicine, followed 47 young non-elite gymnasts for a year. At the start, 57 percent reported wrist pain, and 89 percent of those still had it a year later. Those were children training many hours a week, so 10 minutes a day isn't the same risk. The lesson carries over anyway: warm the wrists every time and treat sharp pain as a stop sign.
Two to three minutes on all fours before each session covers it:
- Wrist rocks: 10 slow rocks forward and back over your hands, then 10 side to side.
- Reverse-palm rocks: turn your hands so the fingers point toward your knees and gently rock back 10 times.
- Palm lifts: keep the fingers down and lift the heels of your hands off the floor 10 times.
- Fingertip presses: in a plank, press your fingertips into the floor until your palms almost lift, 5 times for 3 seconds each.
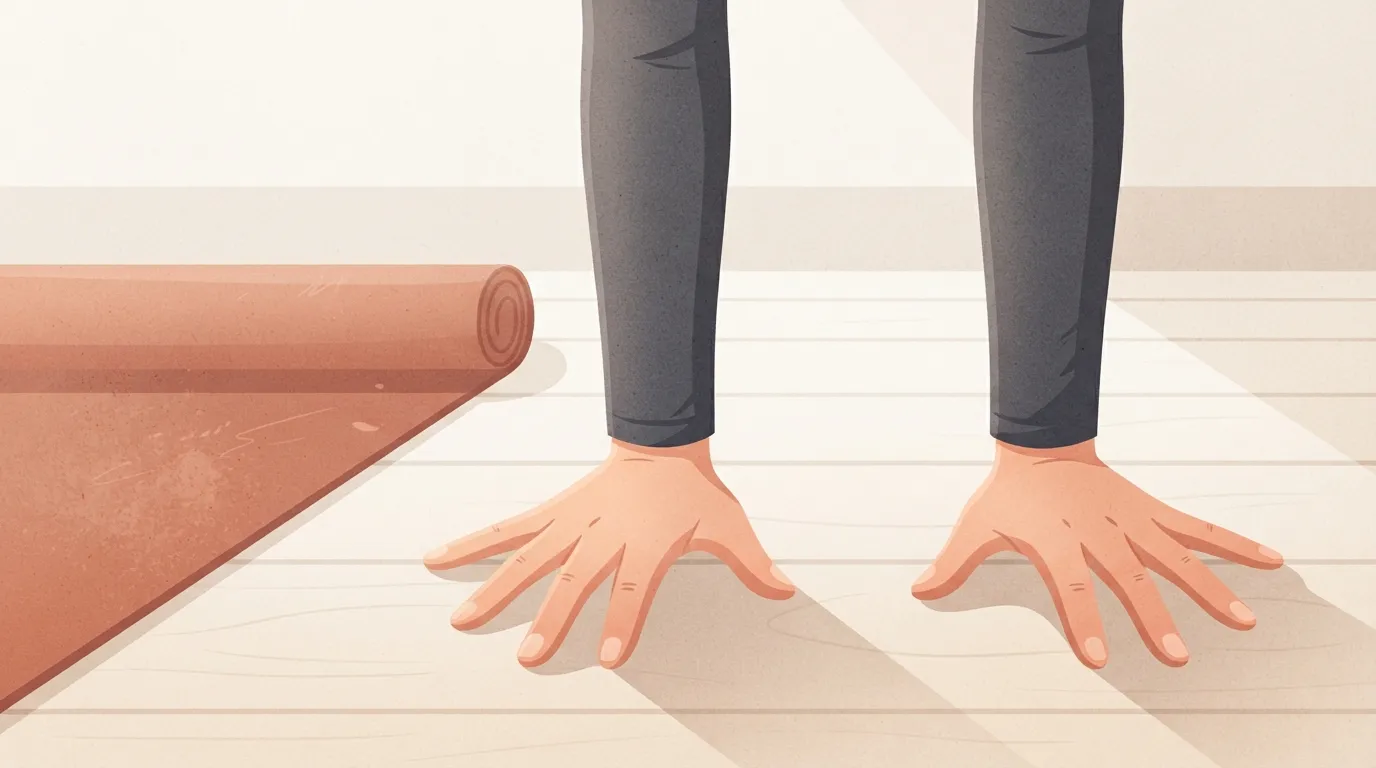
For the handstand itself, place your hands shoulder-width apart with your fingers spread wide and your index fingers pointing forward or turned out slightly. Grip the floor as if you were trying to grab it. A dull ache that fades after the session is normal early on. A sharp pain at the back of the wrist means you stop for the day, and a folded mat under the heels of your hands can reduce the angle next time.
Step 2: Build the Straight Line on the Floor
The handstand shape is a hollow body turned upside down: ribs pulled down, glutes squeezed, legs together and toes pointed, arms straight beside your ears and shoulders pushed up toward them. If you can't make that shape lying on your back, you won't find it upside down.
Three floor drills build it:
- Hollow hold. The hollow hold is the handstand line lying on your back, with your lower back pressed into the floor and your arms reaching overhead. Work up to 3 holds of 30 seconds.
- Plank shoulder push. In a straight-arm plank, push the floor away so your upper back rounds slightly, then relax. Do 10 slow reps. This is the shoulder action that keeps a handstand tall.
- Pike hold. Hands on the floor, hips high, legs as straight as you can manage. Press tall through your shoulders and shift your weight toward your hands for 20 to 30 seconds.
Use cues about the result, not about body parts. "Push the floor away" works better than "elevate your shoulder blades." Wulf's (2013) review of 15 years of attentional-focus research, in the International Review of Sport and Exercise Psychology, found that focusing on the effect of a movement improves both performance and learning compared with focusing on the body itself.
Step 3: Wall Holds, Chest to Wall First
Start with your chest facing the wall. It keeps your hands close to the wall and stops you from arching, so it teaches the straight line. Back-to-wall holds let you sag into a banana shape, so save them for kick-up practice.
The wall walk gets you there with no kick at all:
- Start in a plank with your feet against the base of the wall.
- Walk your feet up the wall one step at a time while walking your hands back toward it.
- Stop when your hands are 10 to 20 centimeters (4 to 8 inches) from the wall and your hips stack over your shoulders.
- Hold with straight arms, shoulders pushed up, and your eyes on the floor between your hands.
- Walk back down the same way, hands first.
Do 3 to 5 holds of 15 to 45 seconds. End each set when your shoulders sink or your elbows start to bend, because a bent-arm hold teaches the wrong shape. Once you reach 30 to 45 seconds with straight arms, start practicing the kick-up.
Find out what's really holding you back
FitCraft, our mobile fitness app, pairs you with an AI coach who builds you a personalized plan around your goals, schedule, and fitness level. Every FitCraft program is designed by Domenic Angelino, MPH (Brown University) and NSCA-CSCS, with research published in the Journal of Strength and Conditioning Research and Medicine & Science in Sports & Exercise.
Take the Free Assessment Free • 2 minutes • No credit cardStep 4: How to Kick Up Into a Handstand
The kick-up is where most people go wrong, because they kick hard and hope. A good kick-up arrives at the top softly enough that you could stop there.
- Face away from the wall, about one long step from it, with your arms straight overhead.
- Step into a lunge and reach your hands to the floor a hand's length from the wall, shoulder-width apart.
- Let your shoulders lean slightly past your hands so your hips can travel over them.
- Swing the straight back leg up while the bent front leg pushes off the floor.
- Bring your legs together at the top and touch the wall gently with your heels.
Do 8 to 10 kick-ups per session. Count how many reach the wall softly. If your heels slam into the wall, you're kicking too hard. If you keep falling short, your shoulders are probably staying behind your hands. When 8 out of 10 kicks arrive softly, start aiming for the point just before the wall.
Step 5: How to Bail Out of a Handstand Safely
Fear of falling over is the main reason adults stall at the wall. The fix is a bail you've practiced so often that you don't have to think about it.
The cartwheel bail works from any direction you overbalance. Shift your weight onto one hand, lift the other hand and step it forward and around, and let your hips turn so your legs come down to the side. Practice it from low kicks first, half a dozen to each side, on grass or a mat with about two meters of clear floor around you.
A forward roll is the other exit, but only if you've learned to roll on your upper back with your chin tucked and your arms bending under control. On a hard floor, the cartwheel is the safer default. Once the bail is automatic, falling stops being scary and starts being part of practice.
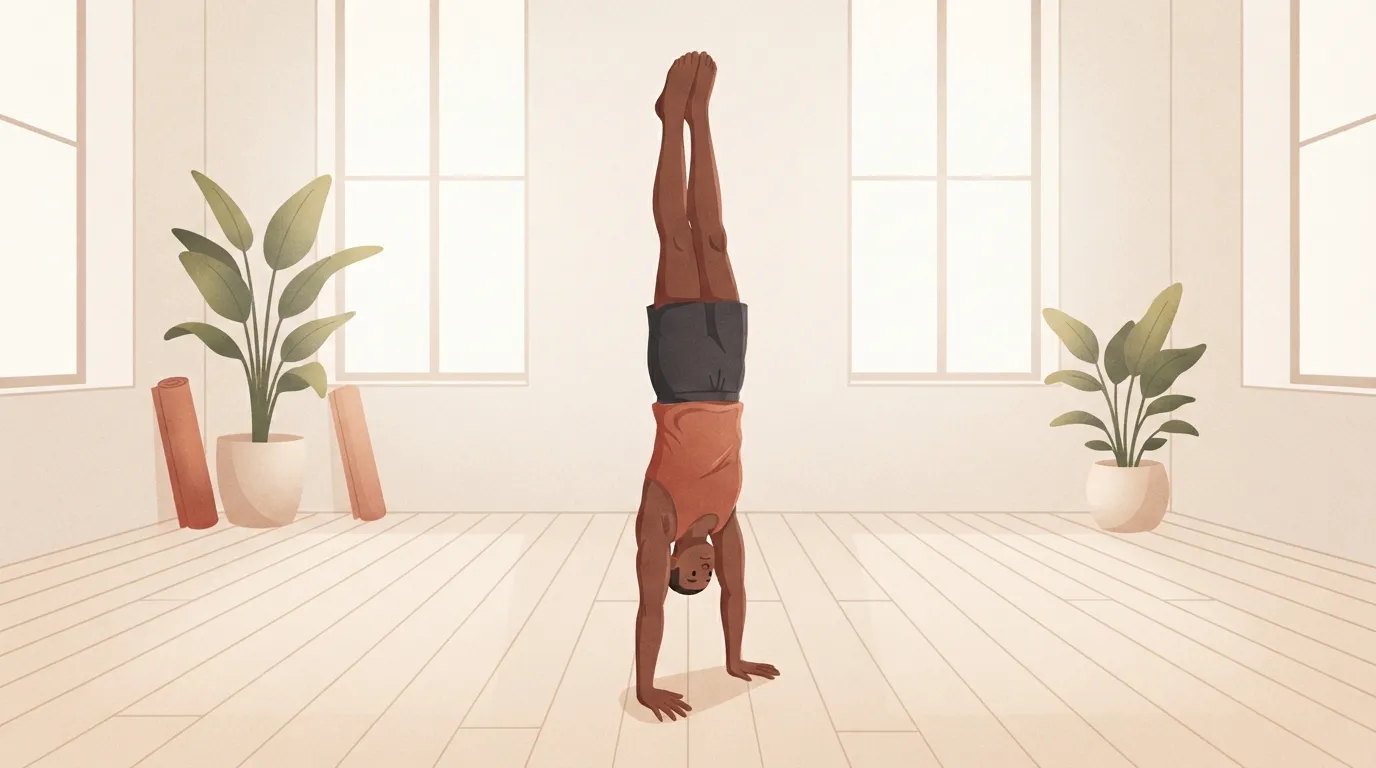
Step 6: How to Do a Handstand Without a Wall
Freestanding work starts at the wall. From a back-to-wall handstand, press your fingertips into the floor until your heels drift a few centimeters off the wall, hold for one to three seconds, then let them settle back. These toe pulls are the wrist strategy from the Kerwin and Yeadon studies, practiced in small doses with a safety net behind you.
Then move into open space and kick lighter than you did at the wall:
- Falling back toward your feet: push into the heels of your hands and lean your shoulders a touch forward.
- Tipping over: dig in with your fingertips. If that doesn't stop it, cartwheel out.
- Gaze: look at the floor between your hands or just in front of them, not at your feet.
Count each kick as one attempt and do 10 to 15 attempts per session. Your first holds will last one to three seconds. That counts as progress, and the seconds add up faster once you've had a few.
How Do I Train Myself to Do a Handstand? A Weekly Practice Plan
Train a handstand like a language: a little, often. Shea and colleagues (2000), in Human Movement Science, found that spreading practice sessions across separate days led to better motor learning than the same practice crammed into one day. It's the same logic behind greasing the groove: frequent, short sets well short of fatigue.
| Day | Session (10 to 15 minutes) |
|---|---|
| Monday | Wrist prep, hollow holds, 3 to 4 wall holds |
| Tuesday | Wrist prep, kick-ups, bail practice |
| Wednesday | Rest, or a general strength workout |
| Thursday | Wrist prep, wall holds, toe pulls off the wall |
| Friday | Wrist prep, kick-ups, freestanding attempts |
| Saturday | Optional: 10 relaxed attempts wherever you are |
| Sunday | Rest |
Stop each session while your reps still look good. Tired arms bend, and bent-arm reps rehearse the wrong shape. Once a week, prop your phone up and film yourself from the side. The camera catches a bent elbow or an arched back that you can't feel upside down.
Exercises for Handstand Strength
You need less strength than you think. A 30-second plank and a few full push-ups is a reasonable starting point for wall work. Beyond that, these exercises cover the muscles the gymnast study pointed to: the front shoulders, chest, lats and upper back.
- Push-ups: straight-arm strength and a rigid trunk.
- Plank shoulder taps: one-arm support, which is what every bail and balance correction asks for.
- Pike push-ups: the pike push-up is a pressing exercise rather than a balance skill, so it builds overhead strength without teaching the balance, and it's the usual route toward a handstand push-up.
- Dumbbell overhead press and pullover: loaded work for the front shoulders, chest and lats.
FitCraft doesn't teach the handstand, and it has no handstand program. What it does cover is the strength side. Its strength workouts use bodyweight and dumbbells, an AI coach demonstrates each exercise on an interactive 3D model, and the workouts adjust as you progress. If you'd rather have that work planned for you on the days you aren't upside down, a bodyweight workout app for home keeps it on schedule, and streaks reward the consistency that skill practice needs too.
How Long Does It Take to Learn Handstands?
Most adults reach a solid wall handstand in weeks and a short freestanding hold in a few months, with four or five short sessions a week. These ranges come from coaching practice rather than a controlled trial, so treat them as a guide:
| Milestone | Typical time |
|---|---|
| 30-second chest-to-wall hold | 2 to 6 weeks |
| Soft, consistent kick-up to the wall | 3 to 8 weeks |
| First 3 to 5 seconds freestanding | 2 to 4 months |
| A reliable 30 seconds freestanding | 6 to 12 months or longer |
Four things move you along the table faster: starting strength, wrists that tolerate the load, practice frequency and a bail you trust. Frequency matters most, and it's the one most people underestimate.
Five Handstand Mistakes That Stall Progress
- Bent arms. A handstand balances on straight arms. Bent elbows turn every correction into a strength test you'll lose.
- The banana back. An arched lower back moves your weight over your fingers and forces the hips to save you. Squeeze your glutes and pull your ribs in.
- Looking at your feet. Tilting your head back arches your spine, and tucking your chin hard throws you off balance. Look at the floor between your hands.
- Kicking too hard. Big kicks carry you past the balance point. Kick only as hard as you need to arrive.
- Long sessions, rarely. One hour on a Sunday teaches less than 15 minutes on five days.
The Bottom Line
A handstand is a balance skill built in order: wrists, the straight line, the wall, the kick-up, the bail, then freestanding. Your hands do the balancing, your body stays one rigid piece, and short practice most days beats long practice once a week.
You don't need gymnastics as a kid. You need the steps in the right order and a few minutes on most days. Do that, and the first freestanding seconds arrive sooner than you expect.
Frequently Asked Questions
Is handstand a hard skill?
A handstand is a moderately hard skill, and the hard part is balance rather than strength. Most healthy adults who can hold a plank and do a few push-ups have enough strength for a wall handstand within weeks. Holding one freestanding usually takes months of short, frequent practice, because your hands have to learn to make small corrections the way your feet do when you stand.
What is an easy way to do a handstand?
The easiest way to do a handstand is the wall walk. Start in a plank with your feet against the base of a wall, walk your feet up the wall and your hands back toward it until your hips stack over your shoulders, hold for a few breaths, then walk back down. It needs no kick and no balance, so it's the right first handstand for almost everyone.
How to learn handstand in 1 minute?
You can't learn a freestanding handstand in one minute, but one minute is enough for the first useful rep. Spend 30 seconds rocking your weight over your hands on all fours to warm the wrists, then do one slow wall walk and hold it for a few breaths. Repeat that minute most days and you have started the progression.
Can adults learn to do a handstand?
Yes. Adults learn handstands the same way children do, through frequent practice, and adults usually have more strength to start with. The usual differences are fear of falling and stiffer wrists and shoulders, so adults benefit from more wrist prep, more wall time and learning the cartwheel bail early, before attempting freestanding balances.
How do I learn a handstand at home by myself?
Clear a strip of wall and about two meters of floor, put down a mat, and practice for 10 to 15 minutes on four or five days a week. Start every session with wrist prep, work through wall walks, wall holds and kick-ups in that order, and film yourself from the side once a week to check that your arms are straight and your body is in one line.
Should I practice chest-to-wall or back-to-wall handstands?
Practice both, for different jobs. Chest-to-wall holds teach the straight line, because the wall stops you from arching and keeps your hands close. Back-to-wall is where you practice kicking up and pulling your heels off the wall, which is the closest drill to a freestanding balance.